Consider the engine of your car as its beating heart, giving it life every day. Your engine needs maintenance to keep it operating well, just like your heart does to keep you healthy. The valve cover, which functions as a shield, is a crucial component of the engine of your car. Your engine’s delicate valves, rocker arms, and camshaft are protected by the valve cover, which acts as sturdy armour. Additionally, it prevents debris from causing problems and keeps engine oil where it belongs. This shield may become dirty over time and require cleaning.
In this article, we’ll explain how to clean valve cover of your car in simple steps so you can keep it in great condition. It’s a simple task that is essential for the health of your car. You can ensure your engine runs at peak efficiency and that your automobile securely transports you on many more journeys by keeping its armour clean. Therefore, let’s get to work cleaning your engine!
Table of Contents
Understanding The Valve Cover In A Car
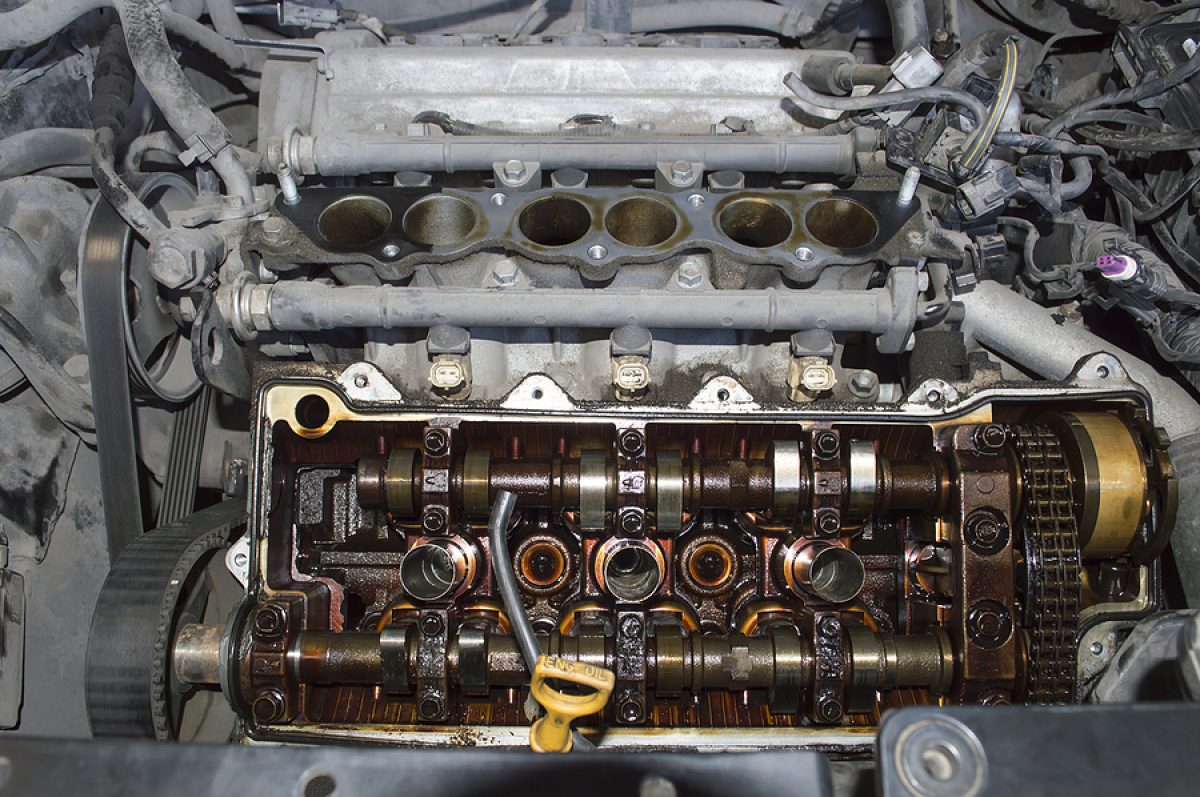
Let’s define a valve cover and discuss its significance before moving on to your query of how to clean valve cover. The valve cover is a metal or plastic cover that sits atop the engine of your car. It performs many vital tasks:
1. Protection:
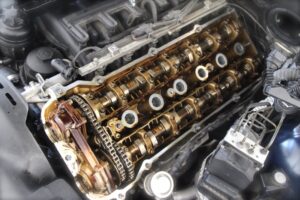
The camshaft, rocker arms, and valves are protected from impurities by the valve cover. These components would be exposed to potentially damaging elements if this cover wasn’t present.
2. Oil Retention:
There are seals and gaskets under the valve cover that help keep engine oil contained. This stops oil from dripping out and keeps your engine lubricated, cutting down on wear and friction.
3. Aesthetics:
In addition to serving a practical purpose, the valve cover also adds to the engine’s aesthetic appeal. For a more appealing appearance, many automobile enthusiasts opt to personalize their valve covers.
Now that we are aware of the importance of the valve cover, it is time to move on to the detailed instructions for cleaning it.
Reasons Why Your Valve Cover Becomes Dirty In A Car?
The valve cover on your automobile might become dirty for a variety of reasons, so it’s crucial to know why this occurs so you can maintain the health of your engine. Here are a few brief justifications:
1. Dust And Dirt:
When you drive, your vehicle is exposed to the environment, and dust and dirt particles may enter the engine. These grits collect on the valve cover over time and dirty it.
2. Oil Spills:
Small oil leaks occasionally happen near the valve cover gasket. The cover may become much dirtier as a result of this oil’s ability to draw grime.
3. Older Gaskets:
As your car ages, the gasket that seals the valve cover may become worn. When it occurs, there’s a chance that oil will begin to leak out, which not only creates a mess but also draws more dirt.
4. Environmental Elements:
Extreme weather events like snow, rain, or mud can also make the valve cover dirty. The cover can be easily ruined by driving through dusty areas or splashing through puddles.
5. Failure To Maintain:
Your engine’s cleanliness may deteriorate if you skip routine maintenance. Regular maintenance frequently includes cleaning the valve cover and missing this step can result in a dirty cover.
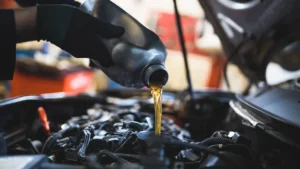
6. Engine Oil Changes:
Oil can flow or spill over the valve cover during oil changes. This can build up over time and make the cover dirty if it isn’t cleaned properly.
It’s crucial to perform routine maintenance on your vehicle, address any oil leaks right away, and pay attention to road conditions if you want to keep your valve cover clean. Your engine will continue to function smoothly and in good condition if you clean it as needed.
How To Clean Valve Cover: A Step-by-Step Guide!
Now that we are aware of the necessity of the valve cover and its causes. Let’s continue with the step-by-step cleaning procedure.
Tools You’ll Need:
Gather the following supplies before you begin cleaning your car’s valve cover:
- Socket set or wrench
- Screwdriver
- Shop towels or rags
- Valve scraper
- Degreaser for engines or brakes
- A little brush, like an old toothbrush
- If required, replace the valve cover gasket.
- Safety glasses and latex gloves
Step 1: Safety First
When working on your car, put safety first. Look if the engine is cold before starting. By doing this, hot engine parts won’t burn anyone.

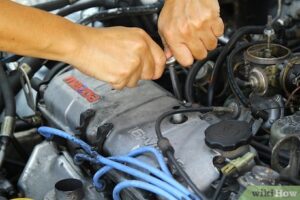
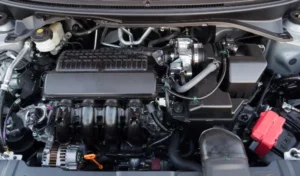
Step 2: Finding The Valve Cover
Locate the valve cover by opening your car’s hood. On top of the engine, it is typically a sizable spherical or rectangular component. If you’re not sure where it is, refer to your car’s owner’s manual.
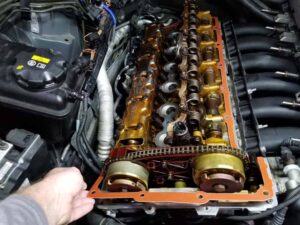
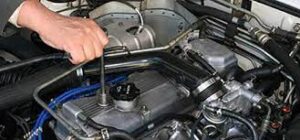
Step 3: Take The Valve Cover Off
Carefully remove the bolts holding the valve cover in place using a wrench or socket set. You’ll need these bolts later, so keep them somewhere secure. If the gasket seal has caused the valve cover to become stuck, carefully peel it off using a screwdriver.
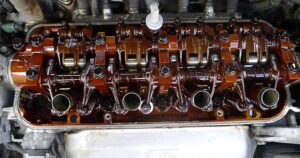
Step 4: Clean The Valve Cover
It’s time to clean the valve cover after it has been taken off. Start by cleaning the valve cover and engine block of any leftover old gasket material with a gasket scraper. Avoid causing a scratch on the metal surfaces.
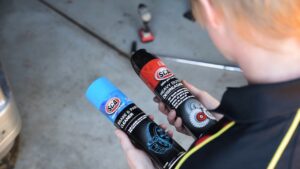
Step 5: Degreaser The Valve Cover
To get rid of any oil and grime accumulation, spray brake cleaner or engine degreaser on the valve cover. To get rid of tough dirt, let it sit for a while.
Step 6: Rinse And Scrub
Use a small brush, such as an old toothbrush, to thoroughly clean the valve cover. Pay close attention to any cracks and crevices where dirt may collect. To get the degreaser and debris off the valve cover, rinse it with water. Make sure it is entirely clean before continuing.
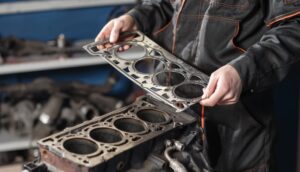
Step 7: Examine The Valve Cover Gasket
Examine the valve cover gasket’s condition. To guarantee a proper seal, it’s essential to replace it with a new one if it’s worn out, damaged, or leaking. Engine issues and oil leaks might result from a bad gasket.
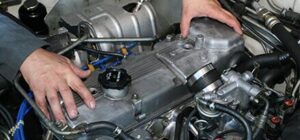
Step 8: Reinstall The Valve Cover
Reinstall the cleaned valve cover onto the engine, making sure the bolt holes line up and the gasket is aligned. To maintain consistent pressure, carefully reinstall the bolts and tighten them in a crisscross manner. For information on the precise torque requirements for your vehicle, consult the owner’s manual.
Step 9: Check For Leaks
It’s critical to check for leaks after restoring the valve cover. Run the engine for a few minutes after starting it. Search for any indications that the valve cover gasket is leaking oil. You might need to tighten the nuts again or change the gasket if you notice a leak.
Step 10: Properly Dispose Of Waste
Any used rags, degreasers, or gaskets should be disposed of responsibly. Numerous vehicle parts retailers or recycling facilities can support you in this.
Step 11: Cleanup
Close the hood of your automobile, then wash your hands and your equipment. You’ve successfully cleaned the valve cover of your car, assuring both the longevity of the engine and the valve cover’s correct operation.
Conclusion:
Now that you’re aware of how to clean valve cover of your car. Always remember, cleaning the valve cover on your car is a simple but important maintenance job that can have a big impact on how well and how long it lasts. You can keep your engine operating smoothly and effectively while also avoiding oil leaks by adhering to these easy measures. A little bit of regular valve cover maintenance can go a long way toward ensuring that your car stays in excellent condition.
If you have any questions, take your time, carefully follow the instructions, and refer to your car’s manual. You can ensure many more miles of trouble-free driving by maintaining the valve cover, and the beating heart of your engine, with a little bit of work and the proper supplies.